Monday, 10 October 2016

HOW TO: investment mold making

Investment casting is a technique for making small, accurate castings in refractory alloys using a mold formed around a pattern of wax or similar material which is then removed by heating in a kiln. This post will discuss the process with the intention of bronze casting .

Step 1
Make a figure from wax, the wax used in this project is a soft brown wax, which melts at body temperature making it very easy to manipulate.


Step 2 Spruing
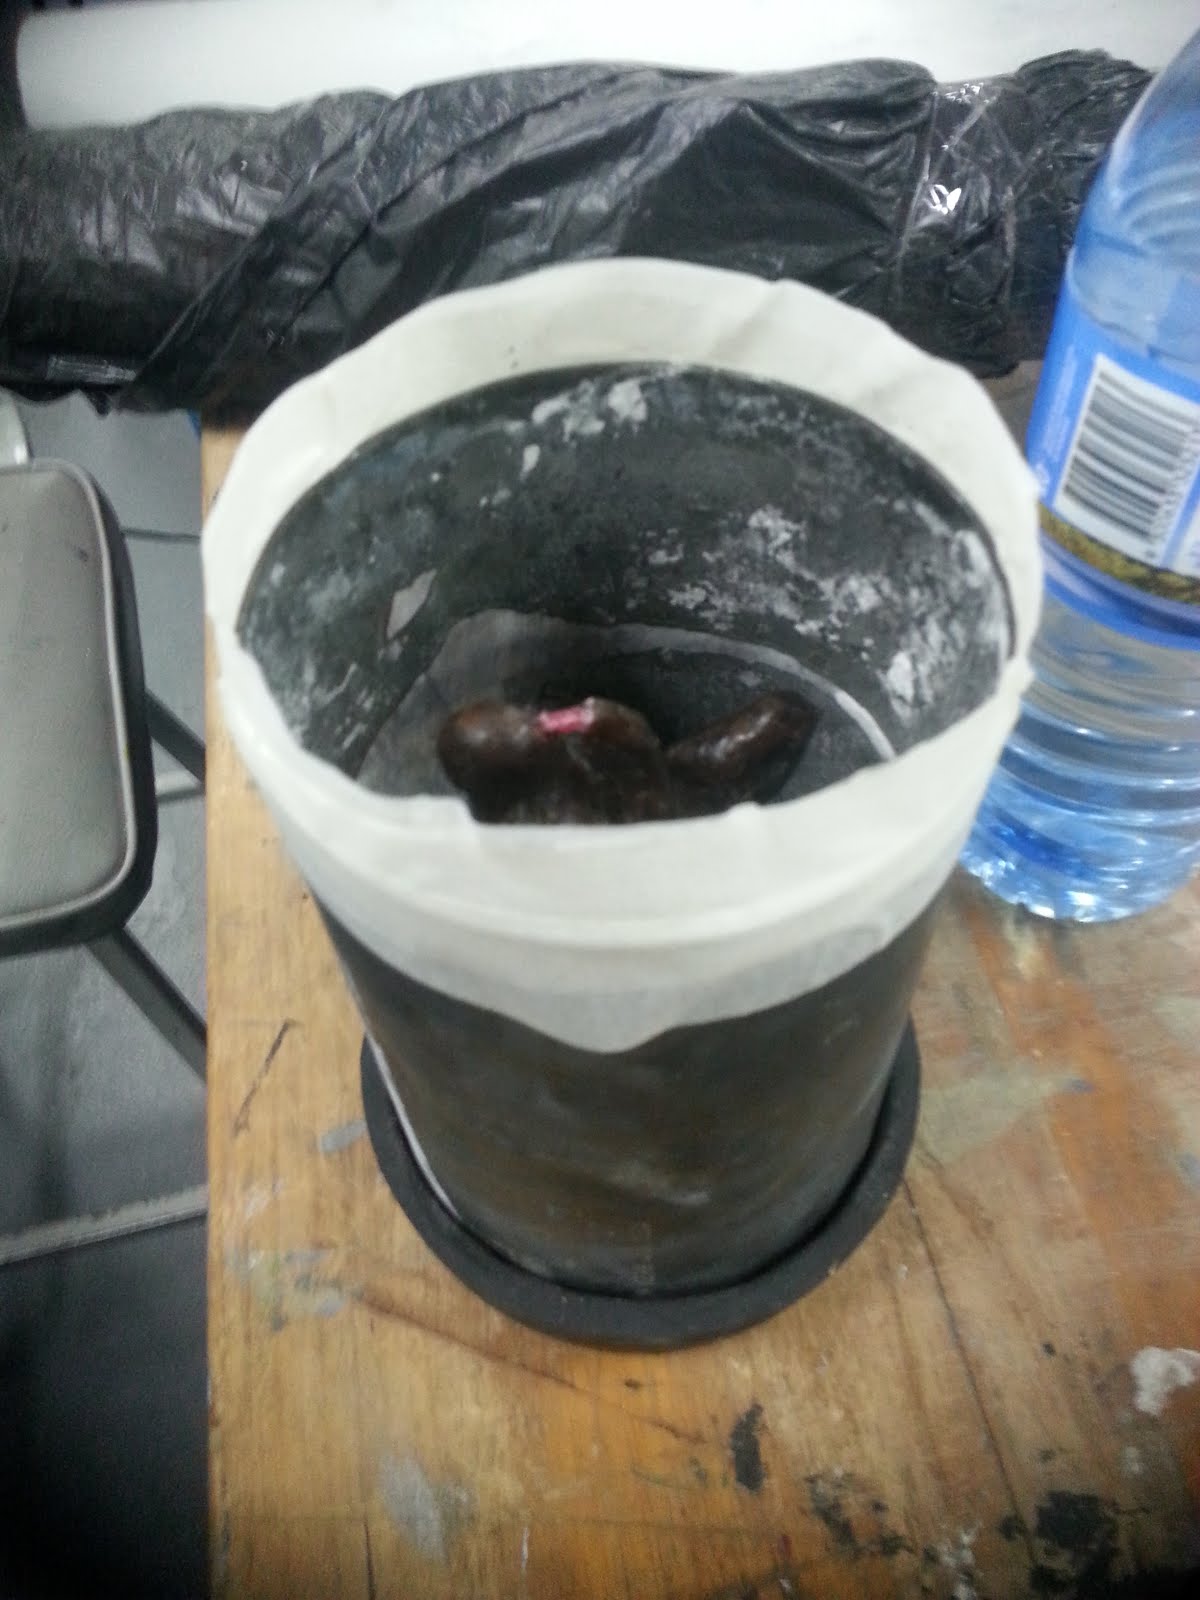
Spruing allows the wax to melt out of the mold and for the metal to get to your piece, You need to try and visualise the metal pouring downward and filling the space that your wax figure occipied, filling from the bottom to the top. If any spaces are small and tight of higher than the rest they will need to be sprued to allow the metal to flow into them. Not having enough sprues or not having them in the proper location may cause imperfections in the piece. For example in figure 1 a sprue is required between the head and the hands. It is also useful to smooth out where the sprues join the figure as that will reduce the time spent removing them later as seen in figure 2. Notice that the wax used for the investment is red, it has a higher melting temperature than the brown wax and will require melting to join together. An alcohole lamp (clean flame) and knife was used for this piece.


Figure 1


Figure 2
Step 3 Preparing the investment flask
Join your sprue to the base of the investment flask, this can be done by heating it with a clean flame, and while partially molten, joined to the base. It is important that aleast 1/4'" of space is left between the edge of the flask and the wax. If not there is a risk that the molten metal will break through the side of the investment material. The same goes for the top of the flask. For this piece the flask height had to be extended. This was achieved by adding a masking tape skirt, which increased the height of the flask (figure 3).


figure 3


Step 4 Investment material
Investment material looks, feels and acts alot like plaster of paris. But requires accuracy in mixing and sets incredibly fast/hard. This particular investment material is suitable for bronze casting which will be fire at high temperatures (750'c approx) for extended periods and will need to withstand the molten broze at 1100'c.
The ratio for mixing is 1000:300   investment material to water.
It is important to adhere to the following process, and make sure that all the materials required such as containers, your flask, mixing sticks, water, investment material, scales etc are close by as the investment material, once water is added, has a maximum working time of 8 mins.


.


- measure out the required investment material, approximately 1.5kg for a single flask
- measure out the require amount of water in a separate container
- gradually add the water to the investment material and stir, keeping in mind that it will set very quickly.
- once a consistancy of thickened cream is achieved,pour the investment material into the flask.


Step 4
Allow the flask to sit. Once an investment mold is fired in the kiln, it has to be used when it is HOT. Also keep in mind that you have about one week to use the flask as the investment material will 'go off' if left any longer. So time is of the essence.


\

Step 5 Kiln
When you are ready the flask goes in a kiln to start the burnout process.
Burnout times are anywhere from 5 - 12 hours. an example of a 5 hour burnout time would be
Hour 1: 300 degrees,
 Hour 2: 700 degrees,
Hour 3 and 4: 1350 degrees,
Hour 5: 1000 degrees - and hold
When preparing to remove the flasks from the kiln the temperature will need to be set to 650'c

HOW TO: CURA settings for PLA or ABS filament for Cocoon 3d printer


this page is under construction 


This post is designed to assist in exporting files from CURA for use on the ALDI Cocoon 3D printer. The settings will cover the differences in exporting for use with the PLA and ABS filaments. In particular the Glow in the dark filament.
CLICK HERE To seeing how to setup CURA for use with the cocoon 3d printer

Setup for PLA
This is the easier of the two filaments to work with.
Set your printing temperature to 215'c  and the bed temperature to 50'c
You may find that you do not even need to set a raft for this filament tho it is recommended.

ABOVE: settings to change to use PLA filament
ABOVE: green PLA filament with raft


Setup for ABS
The following will cover setup and usage of the glow in the dark filament.

STEP 1: setting up CURA
Set printing temperature to 245'c
set bed temperature to 90'c ( the recommendation is to set it to 100'c, but this temperature will evaporate the bonding liquid)
set platform type to raft ( you MUST use a raft with ABS filament to reduce failure rate )

For these prints a layer height of 0.2 was used. This greatly increases print time (almost 50% less) but be aware this this will give the form a textured, almost shimmery surface, which supports my conceptual focus. It is personal choice but for most applications I would recommend using the default Layer height of 0.1mm for the greatest level of detail and minimal unintended texture.


STEP 2: Prepare the bed of the 3d printer.
The printer bed must be completely clean, then apply a liberal layer of Bostik glue to the entire surface. This will aid the raft of your form to adhere to the surface of the print bed and reduce failure rate.
If you use UHU glue you will find that within half an hour of printing it may turn into a white powder, causing the raft to breakfree of the print bed surface.


Use Bostik, avoid UHU due to increased failure rate
A successful double print using Bostik as the adhesive agent.

ABOVE: successful print of 11 figures taking 8 hours. There are some imperfections but is an overall successful print

Wednesday, 21 September 2016

ARTIST RESEARCH Amanda Parer

ABOVE: Public art installation features 7 monumental, illuminated rabbits
[image source : https://cdn0.vox-cdn.com/thumbor/V_pebCyOOcwBRmHcuau5rzneucs=/0x0:2953x4419/920x613/filters:focal(1241x1974:1713x2446):format(webp)/cdn2.vox-cdn.com/uploads/chorus_image/image/49191687/bunny1.0.jpg ]

 ABOVE: In Fantastic Planet, Featured, International news, Media
[image source: http://amandaparer.com.au/wp-content/uploads/2016/01/lights2.jpg]

Australian artist Amanda Parer’s edgy and ephemeral artworks explore the natural world, its fragility and our role within it. Amanda’s work features startlingly beautiful creatures enlarged and frozen within their chosen habitats. When viewing one of these iconic, mostly feral animals inhabiting a beautifully haunting landscape, the environmental message is enhanced by the artist’s finely crafted traditional technique in any of her chosen mediums, such as painting, sculpture and public installation

Australian visual artist, Amanda Parer, challenges the notion of scale through her enchanting pieces that explore the environment and the role of human beings in it. Amanda’s work often takes form as a painting, a sculpture or a public installation.

ARTIST STATEMENT
In my artwork I aim to raise questions about the natural world and our place within it. I try to communicate this by using light and dark, humour and drama. I aim to entice my audience with beautiful, mostly feral creatures enlarged within their given habitats. Scale and attention to detail is reflected not only in large-scale sculptures and public art installations but also to smaller, more intimate sculptures and paintings.


[source: http://www.artsbrookfield.com/wp-content/uploads/BNY_Arts-Brookfield_Intrude-Media-Release_Mar.-10.pdf  
http://la.curbed.com/2016/3/29/11327372/giant-rabbits-los-angeles
http://amandaparer.com.au ]

HOW TO: Photogrammetry with Autodesk 123D ReMake


Before we get started here are some tips for a successful 3d model capture. This tutorial was created using the camera of a samsung galaxy S5 LTE-A. 


  1. Try to place your object in a way it is raised and you can easily turn around to take pictures from all the angles.
  2. Shoot various loops and change your angle every time to be sure to cover the surface of your object from the top to the bottom and from the left to the right.
  3. Take at least 30-40 photos to get a detailed model.
  4. In order to make the process on your software easier put some newspaper or sticky notes on the surface in contact with your object, it will help to distinguish it from your object.
  5. Limit the variation of light, moves and focus between your pictures
  6. Make sure that the exposition will be enough to get the precise shape of your object.
  7. To make the most of your camera’s pixel you can try to do your shooting in RAW image format to get the sharpest pictures possible. 
  8. Use a lens with a low deformation between 30-60 mm
  9. Have a small aperture between 8 and 16
  10. The smallest ISO possible between 100 – 200
Step 1
Head to http://www.123dapp.com/catch install the PC version, and load it up.
Now select Create 3D --> Photos  and then select Online


Step 2
Now select local drive 


Step 3
And select the photos that you took of your 3d object. The more photos the better the model that will be produced. For this tutorial 65 images were used


Step 4
Once the images have been selected click Create model


Step 5
This process can take a while, the images will be upload to the cloud and processed online. A progress counter will keep you upto date on its progress. For this project it took 40mins to upload the images and process them to create the 3d model. When its done you can then download the 3d model as a .rcm file.


Step 6
For printing you will want to open the model in the editor provided in ReMake. This is done by clicking on the 3d model in ReMake


Step 7
Make any changes to the 3d model before you decide to export it


Step 8
Once you are happy with the model, select Quick export --> select the file type (MeshMixer.obj for printing with cocoon printer and Cura)


Step 9
You can now open the file in programs such as CURA for exporting to a 3d printer


Wednesday, 17 August 2016

HOW TO : install/setup the ALDI cocoon 3d printer for Cura (windows 7)


How to install/setup the ALDI cocoon 3d printer for Cura (windows 7)


Step 1: Visit the cocoon website and click the download link on the main page https://www.cocooncreate.com.au/download/


Step 2 : On this page you will be downloading the CURA software and the configuration file for the printer which is needed for CURA to work with the cocoon printer.
Go ahead and download the CURA software, but do not install it yet.


Step 3:Now we need to download the configuration file. If you click on the here link it will just open it as a readable file. You need to right click and save linked contend as... from the drop down menu (pictured below)


Step 4: Make sure that you know where you are saving this file as you will need to move it very soon into the CURA install folder. Also note that you need to make sure that it is saved as a Configuration Settings or .ini file.


Step 5: Now its time to install the CURA software. Double click the CURA installation file that you downloaded off the cocoon website which should be titled Cura_18.03.exe or redownload here.
Make sure you pay attention to where it is being installed as you will need to open this folder to copy the configuration file once it is installed. When you see the install window (below) click next (leave the destination folder as it is below)
Now just wait for it to finish installing then move onto the next step.


Step 6: Once CURA has installed make sure that you DO NOT run the software, First you need to copy the configuration file into the installed folder. Find the directory circled below. 
Local drive (C:) --> Program files(x86) --> Cura_10.03 --> Resources --> machine_profiles
(Note that the directory may be different depending on your operating system. )
You will need to copy the printer profile you downloaded earlier into this folder. The file should be titled Cura Profile Cocoon HE150272 - 3D printer and be a configuration settings file type.


Step 7: Open the CURA program. If you are running CURA for the first time, you will be greeted with this image. Select Other Printers and press the Next button.
If you already opened the CURA program and are not greeted with this screen go to Step 11. Otherwise just continue,


Step 8: Now select Other(Ex:RepRap, MakerBot, Witbox  and press the Next button


Step 9: Now select Cura Profile Cocoon HE 150272 - 3D printer from the list and press the Next button


Step 10: You are now ready to start importing and exporting models for the cocoon 3D printer


Step 11: This step is for people who have already opened the CURA software and need to add the cocoon printer to CURA 
Just click the tab Machine  then click add new machine... this will bring you to step 7


Sunday, 7 August 2016

HOW TO: use the ALDI 3D printer


Which printer is it ? 

The Cocoon Create 3D printer, sold at ALDI stores(australia)  feburary 2016
printer value $500


How to Setup the 3D printer


Sadly due to the low pricepoint alot of manual setting up is requred.
Navigating the menues is done through the LCD using a dial. To make a selection in the menu push the dial inward.

Threading the line
The threading of line into this machine is a manual process, which can be difficult as the gaps in the head allow the line to thread out the back. You will need to turn on the machine and use the LCD interface to select the line feeder and prehead the print head and slowing turn the knob to feed the line through.
Each time you need to re-thread the line into the print head you should make sure the head is cleared.
To do this undo the lower screws of the left hand fan and carefully remove the heat sink which will expose the print head.. Push anything that is blocking the print head through while the print head is in preheat mode (215'c). Once clear now reassemble the print head.

Calibrate the print bed
This model does not auto calibrate. You will need to tighten or loosen the springs located at the four corners of the print bed.

  1. Using the LCD screen select calibrate XY. Which will bring the print bed to the bottom left hand corner.
  2. You can now tighten and loosen the screws/springs using an alan key. To test the tightness of the bed put a piece of paper between the print head and the bed. The paper should be gripped enough that it can be pulled out easily but not enough that pulls straight out.
  3. This process needs to be repeated at all four corners of the print bed. 


NOTE: that if you move the printer you will need to recalibrate all of the above

How to Print an object 


This is the easy part, Insert the MICRO SD card supplied with the printer, and using the LCD screen select card --> then the file you wish to print. The file will need to be an STL(STereoLithography) .
The printing time will vary depending on the size of the object to be printed. The robot took approx 30mins and is 3.5cm tall. Larger objects can take 14hours or more depending on complexity and mass.

NOTE: the quality of the printing isnt perfect, it is a cheap printer after all


Tuesday, 2 August 2016

ARTIST RESEARCH Tim Noble and Sue Webster


Tim Noble and Sue Webster take ordinary things including rubbish, and use it to create art. Usually they focus on creating projection images of self portraits. This particular pile of garbage took 6 months for them to collect, if you look at the shadow in the background it creates is two people sitting back to back drinking and smoking.

source:http://iliketowastemytime.com/amazing-silhouette-art-made-out-of-trash